Can I replace an in-wall air conditioner myself? Yes, with the right tools, preparation, and a careful approach, many homeowners can successfully replace an in-wall air conditioner themselves. This guide will walk you through the process, from preparing for the removal of your old wall AC to installing your new through-the-wall unit.
Replacing an in-wall air conditioner might seem like a daunting task, but with a structured approach and the right information, it’s a manageable DIY project for many homeowners. This comprehensive guide will cover everything you need to know about replacing in wall AC unit, including how to tackle through wall air conditioner removal and the subsequent through wall AC installation instructions. We’ll also touch upon considerations for a window unit to through wall conversion and discuss the importance of a sturdy wall air conditioner mounting bracket.
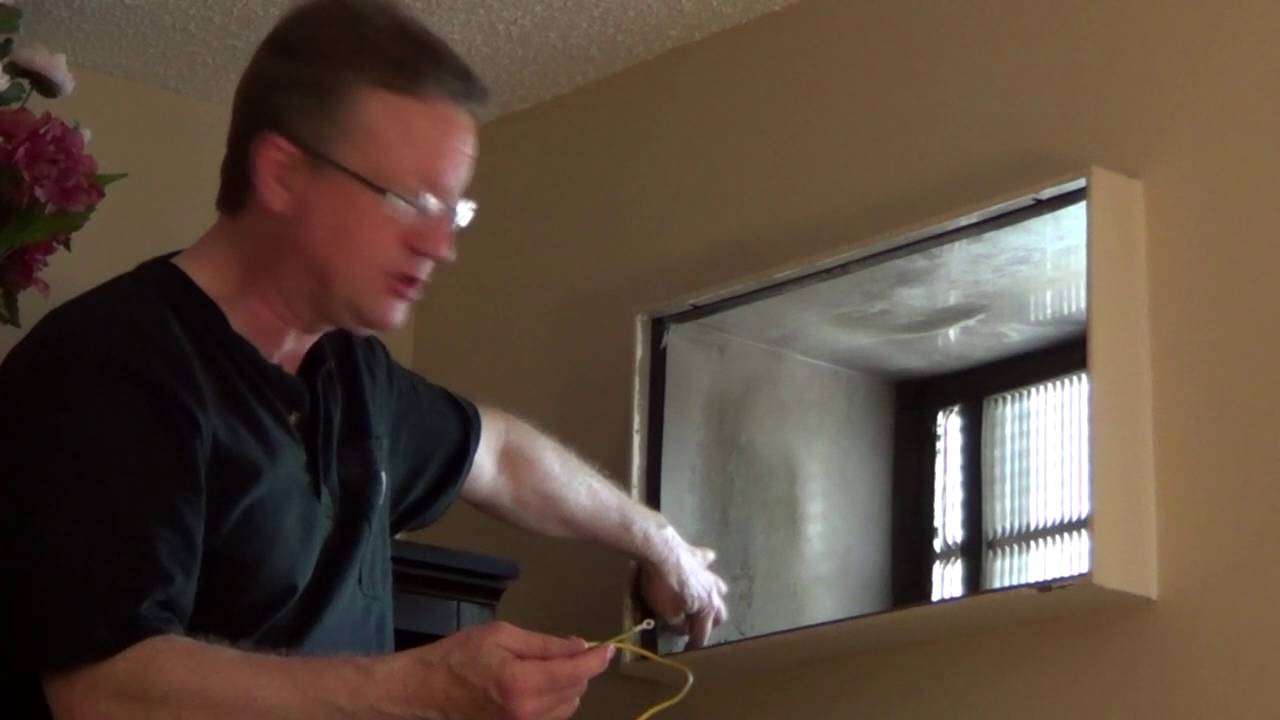
Image Source: i.ytimg.com
Preparing for the Switch: What You Need to Know
Before you begin, it’s crucial to gather your tools and understand the scope of the project. This isn’t just about swapping one unit for another; it’s about ensuring a safe and effective installation that provides optimal cooling.
Essential Tools and Materials
Having the right equipment on hand will make the process smoother and safer. Here’s a checklist of what you’ll likely need:
- New Through-the-Wall Air Conditioner: Ensure it’s the correct size and capacity for your space.
- Screwdrivers: Various sizes and types (Phillips and flathead).
- Wrenches and Pliers: For disconnecting electrical and mounting hardware.
- Utility Knife: For sealing and trimming any insulation or caulk.
- Level: To ensure the new unit is properly aligned.
- Caulking Gun and Sealant: For weatherproofing the exterior opening.
- Insulation: For sealing any gaps around the new unit.
- Safety Glasses: To protect your eyes from dust and debris.
- Work Gloves: To protect your hands.
- Drop Cloth or Old Sheets: To protect your flooring from dust and debris.
- Drill and Drill Bits: For pilot holes and any necessary adjustments.
- Stud Finder: To locate wall studs for secure mounting.
- Measuring Tape: For precise measurements.
- Optional: Jigsaw or Reciprocating Saw: If minor modifications to the wall opening are needed.
- Optional: New Wall Sleeve: If the existing sleeve is damaged or incompatible with the new unit.
Safety First: Electrical Disconnection
This is the most critical step. Never attempt to remove or install an air conditioner while it is connected to power.
- Locate the Circuit Breaker: Find the breaker that controls your existing air conditioner. It’s usually labeled.
- Turn Off the Power: Flip the breaker to the “OFF” position.
- Verify Power is Off: Use a non-contact voltage tester at the unit itself to confirm that the power is indeed off. Test the tester on a known live circuit first to ensure it’s working.
Assessing the Existing Wall Sleeve
Most in-wall air conditioners use a sleeve that remains in the wall when the unit is removed.
- Compatibility Check: Before purchasing a new unit, measure the dimensions of your existing wall sleeve. Most new through-the-wall air conditioners are designed to fit standard sleeves, but it’s essential to confirm. If your old unit used a different mounting style, or if the sleeve is damaged, you might need a new wall sleeve.
- Condition of the Sleeve: Inspect the sleeve for any signs of rust, damage, or poor sealing. A damaged sleeve can lead to drafts, water leaks, and reduced efficiency.
Removing Your Old Wall AC Unit: A Step-by-Step Process
This stage involves the careful extraction of the existing unit from its housing. This is often referred to as old wall AC removal or through wall air conditioner removal.
Step 1: Disconnect Electrical Connections
Even though you’ve turned off the power at the breaker, it’s good practice to disconnect the unit’s internal wiring if accessible.
- Access the Electrical Panel: Most units have a panel at the front or side that can be removed to access the wiring.
- Carefully Disconnect Wires: Note how the wires are connected before disconnecting them. You may need to unscrew wire nuts or terminals.
Step 2: Detach the Unit from the Sleeve
Air conditioners are typically secured within the sleeve by screws or clips.
- Locate Mounting Screws: These are often found on the sides or the front of the unit, attaching it to the sleeve.
- Remove Securing Screws: Use the appropriate screwdriver to remove these screws.
- Check for Side Brackets: Some units might have additional brackets or mounting points that need to be detached.
Step 3: Gently Slide the Unit Out
Once detached, the unit should slide out of the sleeve. This is where you might need a second person, as these units can be heavy and awkward.
- Pull Evenly: Grasp the unit firmly and pull it out of the sleeve slowly and evenly.
- Watch for Snagging: Be mindful of any wires or insulation that might get caught.
- Support the Weight: If the unit is heavy, have someone help support its weight as you pull it out to prevent it from falling or causing damage.
Step 4: Remove the Old Wall Sleeve (If Necessary)
If you are replacing the sleeve or if it’s in poor condition, you’ll need to remove it. This is often the most challenging part of the old wall AC removal.
- Remove Trim and Sealant: Carefully cut away any caulk or sealant around the edges of the sleeve using a utility knife.
- Unscrew Mounting Points: The sleeve is usually secured to the wall studs with screws. Locate and remove these screws.
- Wiggle and Pull: The sleeve might be wedged in place. Gently wiggle it from side to side and pull it outwards. You might need to use a pry bar carefully if it’s stubborn.
Installing Your New Through-the-Wall Air Conditioner
This is the reverse of the removal process, but with added steps for proper sealing and mounting. This section covers through wall AC installation instructions and the use of a wall air conditioner mounting bracket.
Step 1: Prepare the Wall Opening and Install New Sleeve (If Applicable)
If you’re installing a new sleeve, follow the manufacturer’s instructions precisely.
- Position the New Sleeve: Insert the new sleeve into the wall opening. Ensure it’s level and fits snugly.
- Secure the Sleeve: Use screws to attach the sleeve to the wall studs. Make sure it’s firmly anchored.
- Seal Around the Sleeve: Apply caulk or sealant around the exterior edges of the sleeve to prevent water and air infiltration.
Step 2: Mount the Wall Air Conditioner Mounting Bracket (If Required)
Some through-the-wall AC units, especially larger or heavier models, may come with or recommend a separate wall air conditioner mounting bracket. This bracket provides extra support, particularly for units that extend significantly from the wall.
- Locate Studs: Use a stud finder to mark the location of wall studs where the bracket will be attached.
- Position the Bracket: Hold the bracket against the wall, aligning it with the stud marks and the sleeve opening, according to the manufacturer’s instructions.
- Secure the Bracket: Drill pilot holes and then screw the bracket securely into the wall studs. Ensure it is level and flush against the wall.
Step 3: Install the New Air Conditioner Unit
This is where your new unit starts to take shape in its new home.
- Slide the Unit In: Carefully slide the new air conditioner unit into the wall sleeve. Again, enlist help if the unit is heavy.
- Align with Mounting Bracket: If you installed a separate mounting bracket, ensure the unit aligns correctly with it.
- Secure the Unit: Fasten the unit to the sleeve (and the bracket, if applicable) using the provided screws. Ensure it’s level and doesn’t wobble.
Step 4: Connect Electrical Wiring
With the unit securely in place, it’s time to connect the electrical components.
- Access the Electrical Panel: Open the unit’s electrical access panel.
- Connect Wires: Follow the wiring diagrams in your unit’s manual. Typically, you’ll connect the power supply wires to the unit’s terminal block, using wire nuts and ensuring secure connections.
- Replace Panel: Securely replace the electrical access panel.
Step 5: Seal and Insulate
Proper sealing is crucial for efficiency and comfort.
- Seal Interior Gaps: Use insulation and caulk to seal any gaps between the unit and the wall sleeve on the interior side.
- Seal Exterior Gaps: On the exterior, ensure the unit sits flush and seal around the edges with appropriate exterior-grade sealant to prevent drafts and water entry. Check the exterior grille for a snug fit.
Step 6: Test the New Unit
It’s time to see if your hard work has paid off.
- Turn Power Back On: Go back to the circuit breaker and turn the power back on.
- Operate the Unit: Turn on the air conditioner and set it to cool. Check for proper operation, listen for unusual noises, and ensure it’s blowing cool air.
- Check for Leaks: Inspect around the unit, both inside and outside, for any signs of water leaks.
Special Considerations: Window Unit to Through Wall Conversion
While this guide focuses on replacing an existing in-wall unit, some homeowners might consider a window unit to through wall conversion. This involves adapting a standard window air conditioner to fit a through-the-wall opening.
- Sleeve Compatibility: Window units are designed to sit within a window frame. You’ll need to ensure it can be safely and securely housed within a standard through-wall sleeve. This might require custom framing or adapters.
- Support: Window units often rely on the window sill for support. In a wall installation, you’ll need to ensure the unit is adequately supported by the sleeve and any additional mounting hardware. A wall air conditioner mounting bracket is often essential in this scenario.
- Sealing: Sealing a window unit in a wall opening requires extra attention to prevent air and water leaks, as they aren’t specifically designed for this type of installation.
Advanced Techniques and Troubleshooting
Sometimes, the process isn’t as straightforward as a simple swap.
Dealing with Non-Standard Openings
If your wall opening is not a standard size, you might need to adjust it.
- Enlarging an Opening: If the opening is too small for your new unit, you may need to carefully cut away a small portion of the wall. This is where a jigsaw or reciprocating saw can be useful. Always check for electrical wires or plumbing within the wall before cutting.
- Reducing an Opening: If the opening is too large, you might need to build out the wall slightly or use a larger wall sleeve and shim it to fit securely.
What About Portable Air Conditioners?
While not a direct replacement for an in-wall unit, a portable air conditioner through wall vent is an option if you want to vent a portable unit through the wall. These kits typically involve a panel that fits into a window or wall opening, with a hose connection. This is a less permanent solution and may not offer the same efficiency or aesthetics as a dedicated through-wall unit.
When to Call a Professional
While many of these steps are achievable with DIY effort, there are instances where professional help is advisable:
- Electrical Concerns: If you are uncomfortable with electrical wiring or suspect issues with your home’s wiring.
- Structural Modifications: If significant wall modifications are needed, it’s best to consult a contractor.
- Heavy Units: For very large and heavy units, the risk of injury or damage is higher, making professional installation a safer bet.
- Uncertainty: If at any point you feel unsure or overwhelmed, it’s always best to err on the side of caution and hire an HVAC professional.
Frequently Asked Questions (FAQ)
Here are some common questions people have when looking to replace their in-wall air conditioners:
Q1: How much does it cost to replace an in-wall air conditioner?
A1: The cost can vary widely. The unit itself can range from $300 to $1000 or more, depending on brand, capacity, and features. Professional installation can add $200 to $600, but a DIY replacement will save on labor costs. The price of a new wall sleeve, if needed, typically ranges from $100 to $250.
Q2: Do I need a new wall sleeve when replacing my in-wall AC?
A2: Not always. If your existing wall sleeve is in good condition and compatible with the dimensions of your new unit, you can often reuse it. However, if it’s damaged, rusted, or designed for a significantly different type of unit, replacement is recommended.
Q3: How do I ensure the new unit fits the existing opening?
A3: Measure the dimensions of your current air conditioner unit and the existing wall sleeve. Compare these measurements to the specifications of the new unit you intend to purchase. Most through-the-wall ACs are designed to fit standard sleeves, but always double-check.
Q4: What is the typical lifespan of an in-wall air conditioner?
A4: With proper maintenance, an in-wall air conditioner can last between 10 to 15 years. Factors like usage frequency, climate, and regular cleaning can affect its lifespan.
Q5: Is it better to replace an in-wall AC with a mini-split system?
A5: Mini-split systems (ductless heat pumps) are generally more energy-efficient and offer better temperature control and zoning capabilities than traditional in-wall units. However, they also come with a higher upfront cost and require professional installation, including mounting an outdoor unit. The choice depends on your budget, cooling needs, and desired features.
Q6: Can I convert a window AC to a through-wall unit?
A6: Yes, it’s possible, but it requires careful planning and potentially custom solutions. You’ll need to ensure the window unit fits securely within a through-wall sleeve and is adequately supported. This type of window unit to through wall conversion may not be as straightforward or efficient as using a dedicated through-wall model.
By following these steps and taking the necessary precautions, you can successfully replace your old in-wall air conditioner with a new, efficient unit, ensuring a cooler and more comfortable living space. Remember to always prioritize safety, especially when dealing with electrical components, and don’t hesitate to seek professional help if you encounter any difficulties.
My name is Carlos Gadd, and I am the creator of AirPurityGuide.com.. With a passion for footwear, I share my experiences, insights, and expertise about shoes. Through my blog, I aim to guide readers in making informed decisions, finding the perfect pair, and enhancing their footwear knowledge. Join me on this journey to explore everything about shoes!